HOW TO REPLACE AN XBOX ONE JOYSTICK
Fix and Repair Issues on Non-Working Joysticks
Are you tired of having a controller that’s not working well because of the joystick? If so, you’re in luck. The following tutorial will show how to replace the joystick to fix many issues. These issues include stick drift, creeping, stuttering, blind spots, dead zones, no click, non-centered, broken, and loose joysticks. Also, the type of controllers this will work on are the Standard, S, X, and Elite Series 1 Xbox One Controllers. In this video, we will show how to test the controller, take the controller apart, remove the analog joystick, install the joystick, and manually calibrate it.
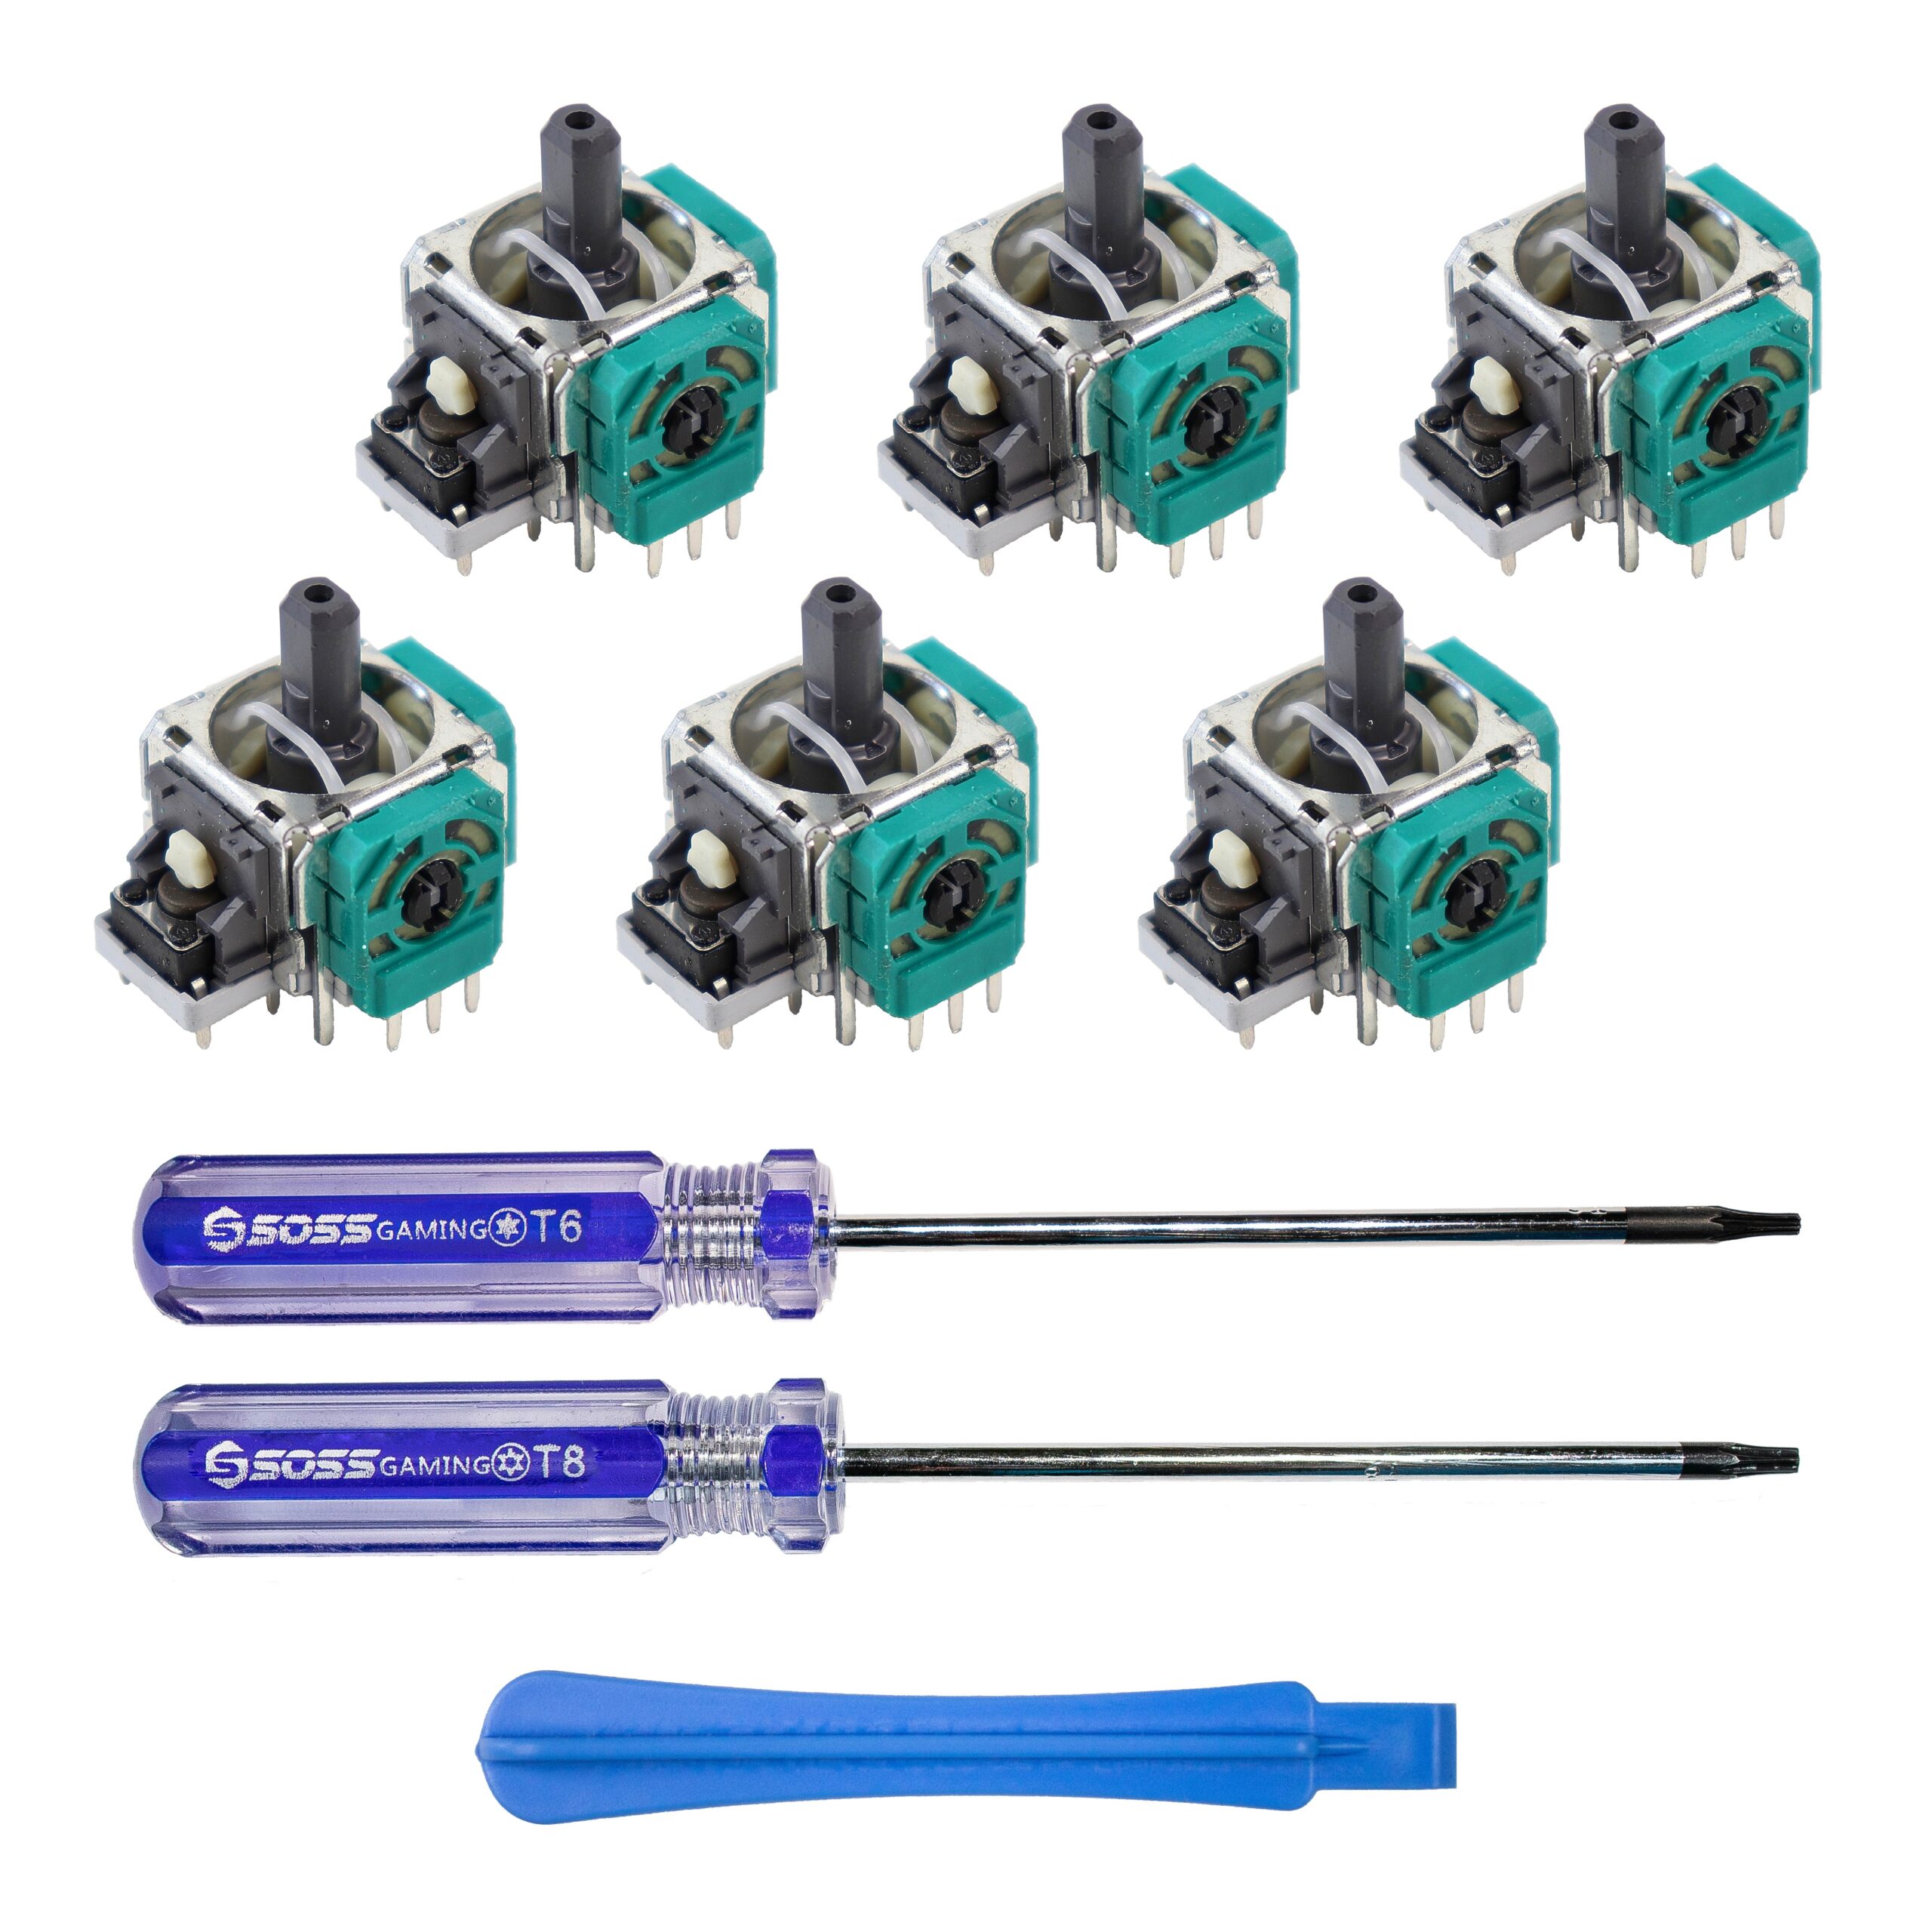
SOSS GAMING 2021 Genuine Analog Joysticks Repair Kit for Xbox One – Fixes Stick Drift, Broken, and Loose Joysticks on Regular, S, X, and Elite Series 1 Controllers
- ORIGINAL PARTS: These joysticks are 100% original products and of the highest quality. As such, you can be sure to be getting the best quality replacement.
- MONEY SAVER: Have a non-properly working joystick? If so, don’t worry! This kit is the perfect solution to make your controller working like new again. No need to shell out $60-$180 or more for a brand new controller. Unlike some repairs, you will need basic soldering skills along with soldering tools and other basic tools.
- WHAT THIS FIXES: Stick drift, creeping, stuttering, blind spots, dead zones, no click, non-centered, broken, and loose joysticks.
- PACKAGE INCLUDES: 6X Joysticks, 1X T8 Security Torx Screwdriver, 1X T6 Torx Screwdriver, 1X Prying Tool. It’s also compatible with Standard, S, X, and Elite Series 1 Xbox One controllers.